Mind Maps
Overview
Typical use cases
How to use the feature
Keyboard shortcuts
Exports
Corner situations
Overview
Mind Maps are used for better planning, brainstorming, and creation of project and process diagrams. You can use them to organize your thoughts about any project without having to create tasks. Unlike WBS, they are designed more for the initiation and analysis phase of a project when it is not yet necessary to create tasks and collaborate but, above all, to analyze and think about all parts of the project or process. They are an invaluable helper for better project planning, a cleaner head thanks to the sorting of ideas, unlocking of creatives, and also in brainstorming where they allow you to clearly show the breakdown and design of a process or project. Technically, it is solely a project-level module with an available global list of mind maps across all projects (application-wide).
Key features:
- Create a mind map in the context of a project
- Create up to 250 nodes in a single mind map
- Limit access to the Mind Maps on your project using roles & permissions
- Complement any mind map node with text description, URL, or relation to an existing task
- Create a new task straight from the mind map node
- Use full-screen view
- Your mind map is saved automatically
- Variety of useful keyboard shortcuts
- Locking mechanism – when you edit your mind map, other users are prevented from editing
Typical use cases
Mind Maps are here to help you during the initial phases of the project. Typically when you need to organize your thought about the new project, but you don't want to create a large number of tasks. Maybe you will not delegate the activity, you don't need to log time on it, don't need attachments and comments. That is a situation when a node in a Mind Map is sufficient, and a task (especially on the high level in the hierarchy) would just sit on someone's homepage without any special purpose.
With Mind Maps, you can draw the structure of your project independently from the task. There is no automatic connection between nodes in Mind Maps and tasks in WBS. There is a feature for adding a node-task relation, that needs to be done manually. This is the main difference between WBS and the new Mind Map feature.
Imagine a WBS with 50 tasks that break down your project from top-level items down to the detailed ideas at the bottom where only 5 tasks are being actively used to comment on, log spent time, and track the status. You can replace that with Mind Map, which will give you as a project manager the high-level overview, and for those 5 tasks that really need to be turned into a task, you can simply create node – task relation.
Sometimes, there are just too many tasks in the application, making it difficult to navigate and find stuff. And this is a way to reduce that number.
Another use case for using Mind Maps is when you have a large process, and you want to check if everything from that process was done. There are “Checkboxes” in Mindmaps, which allow you to mark each Mind Map node as completed – therefore allowing you to track what is still left for the process. We use it as a final checklist before the shipment of the product.
How to use the feature
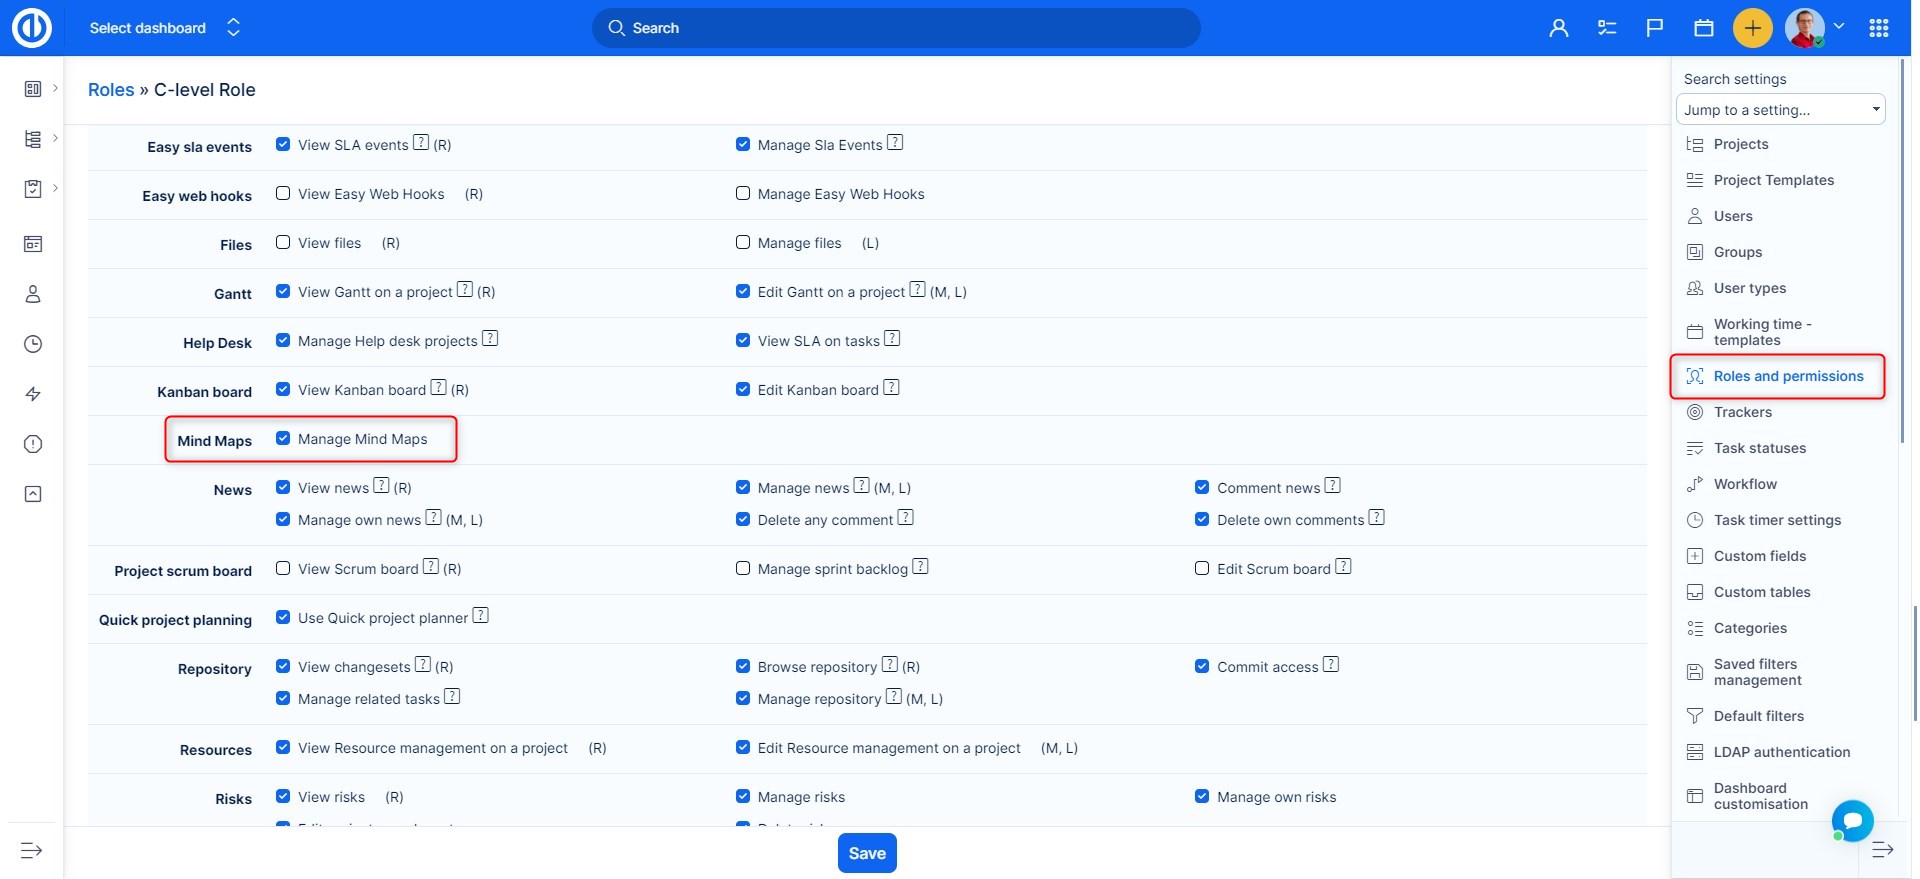
First of all, make sure you are a member of the respective project and have the necessary permission related to managing the Mind Maps feature. The permission can be managed in Administration >> Roles and permissions >> Mind Maps. It allows you to do everything related to mind maps: see, edit, save, share. Administrators have permission by default.
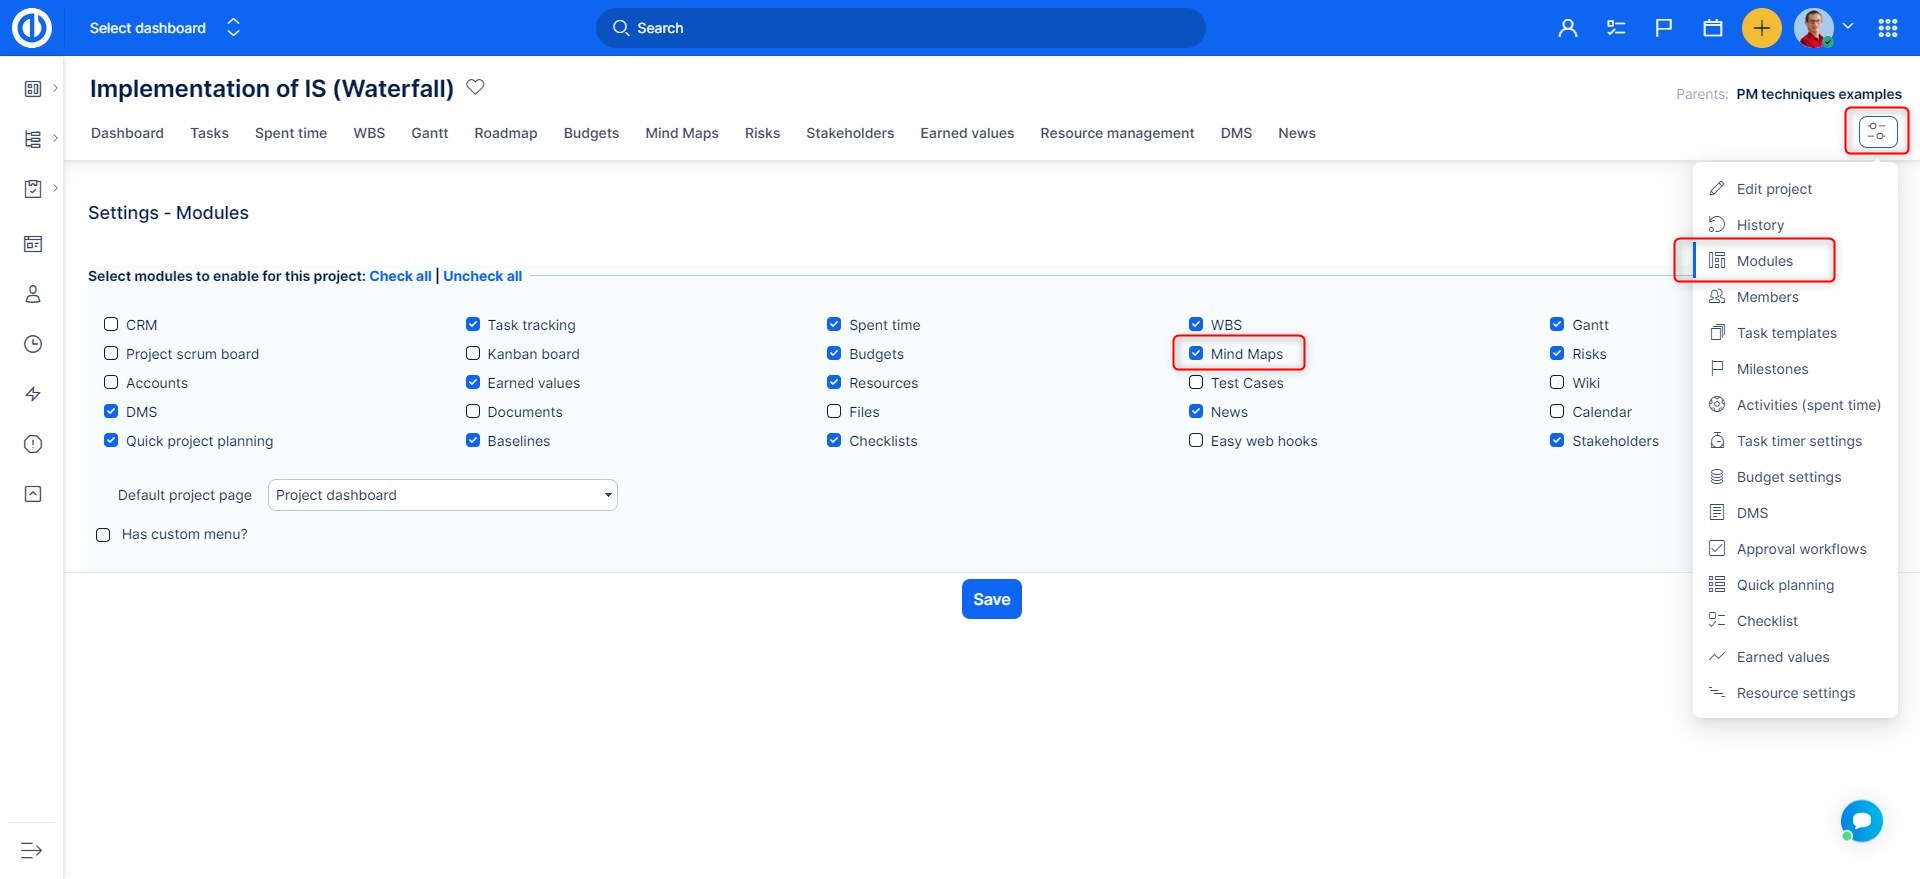
In order to activate Mind Maps on a particular project, you need to go to the project modules where you will find the Mind Maps checkbox. Tick it and save the settings.
Note: If you want to restrict access to your Mind Map, you can either assign the user to the project in a role that does not have permission to see mind maps. Or, if your mind map is really private and you don't want anyone else to see it, you can create a separate project, where you would not invite any members.
Do you see the tab Mind Map on your project? Good. Click on the tab and you will see an overview of Mind Maps in the project.
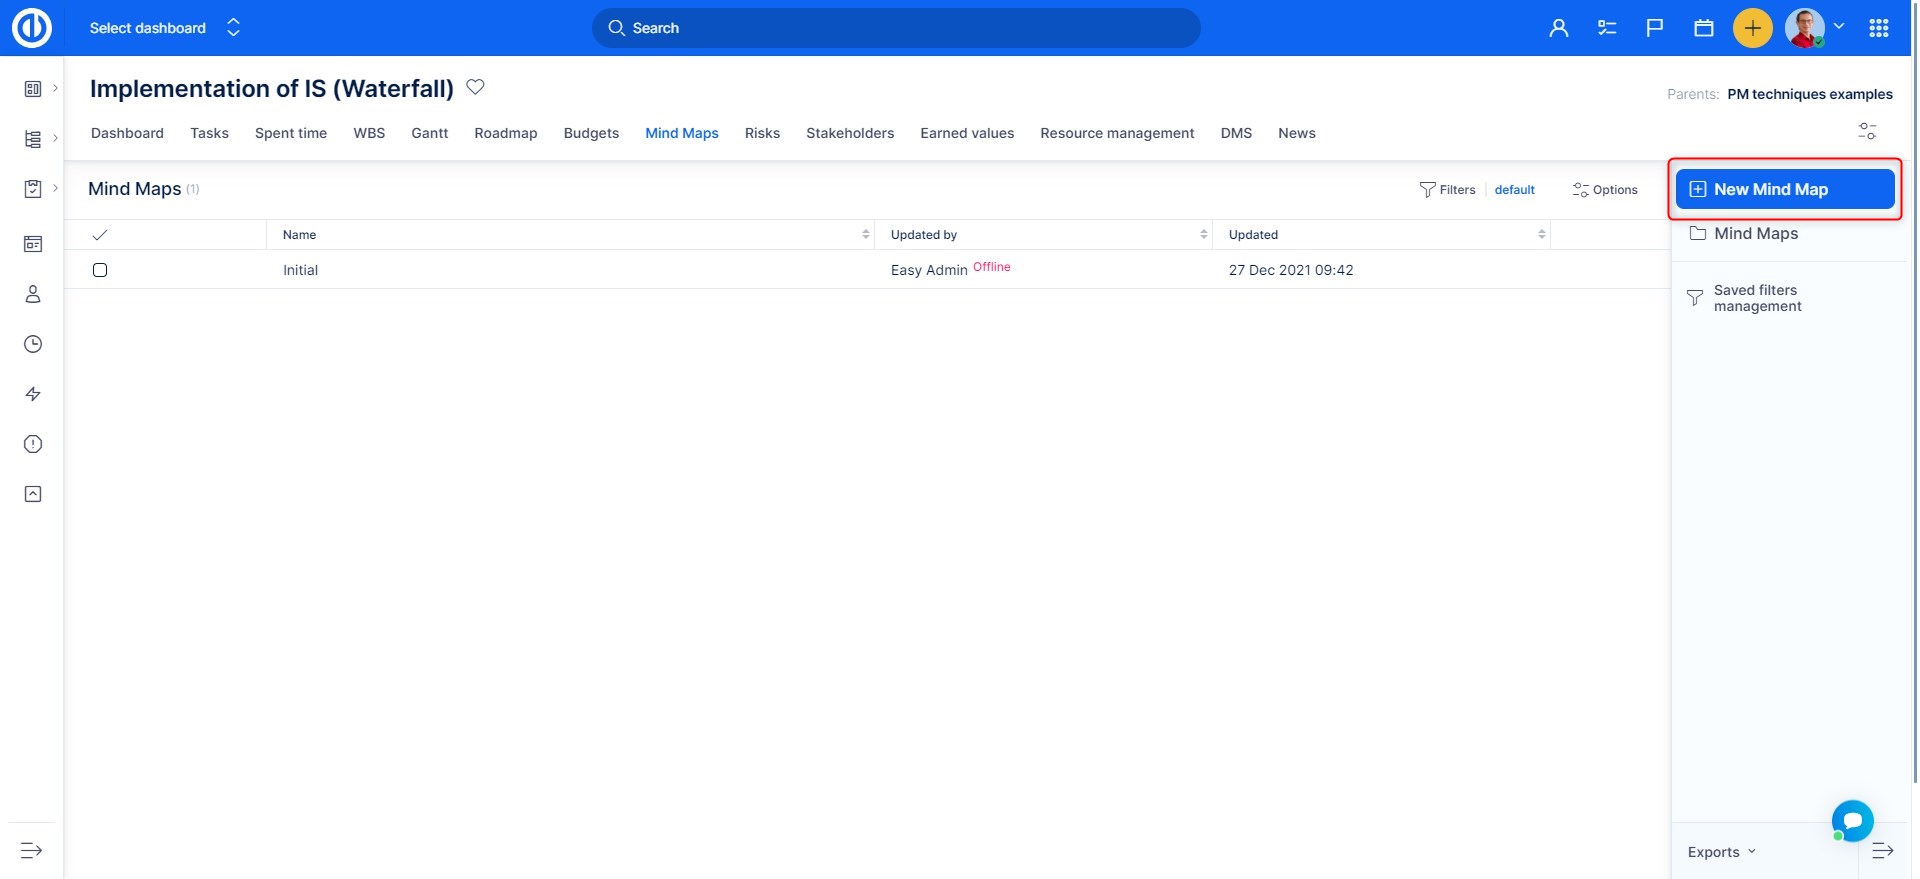
Click on the "New Mind Map" button and give it a name.

Now you are on the mind map. Use enter and tab to create new nodes. Or click with a right mouse button to Add child or Add sibling. You can format each node. Specifically, change the size and color of the text, use the background color. You can also Tag the node. If you want more nodes, they are separated by commas. These tags are independent of tags you know from Projects or Tasks. In order for you to work on Mind Map more conveniently, use the full-screen view.

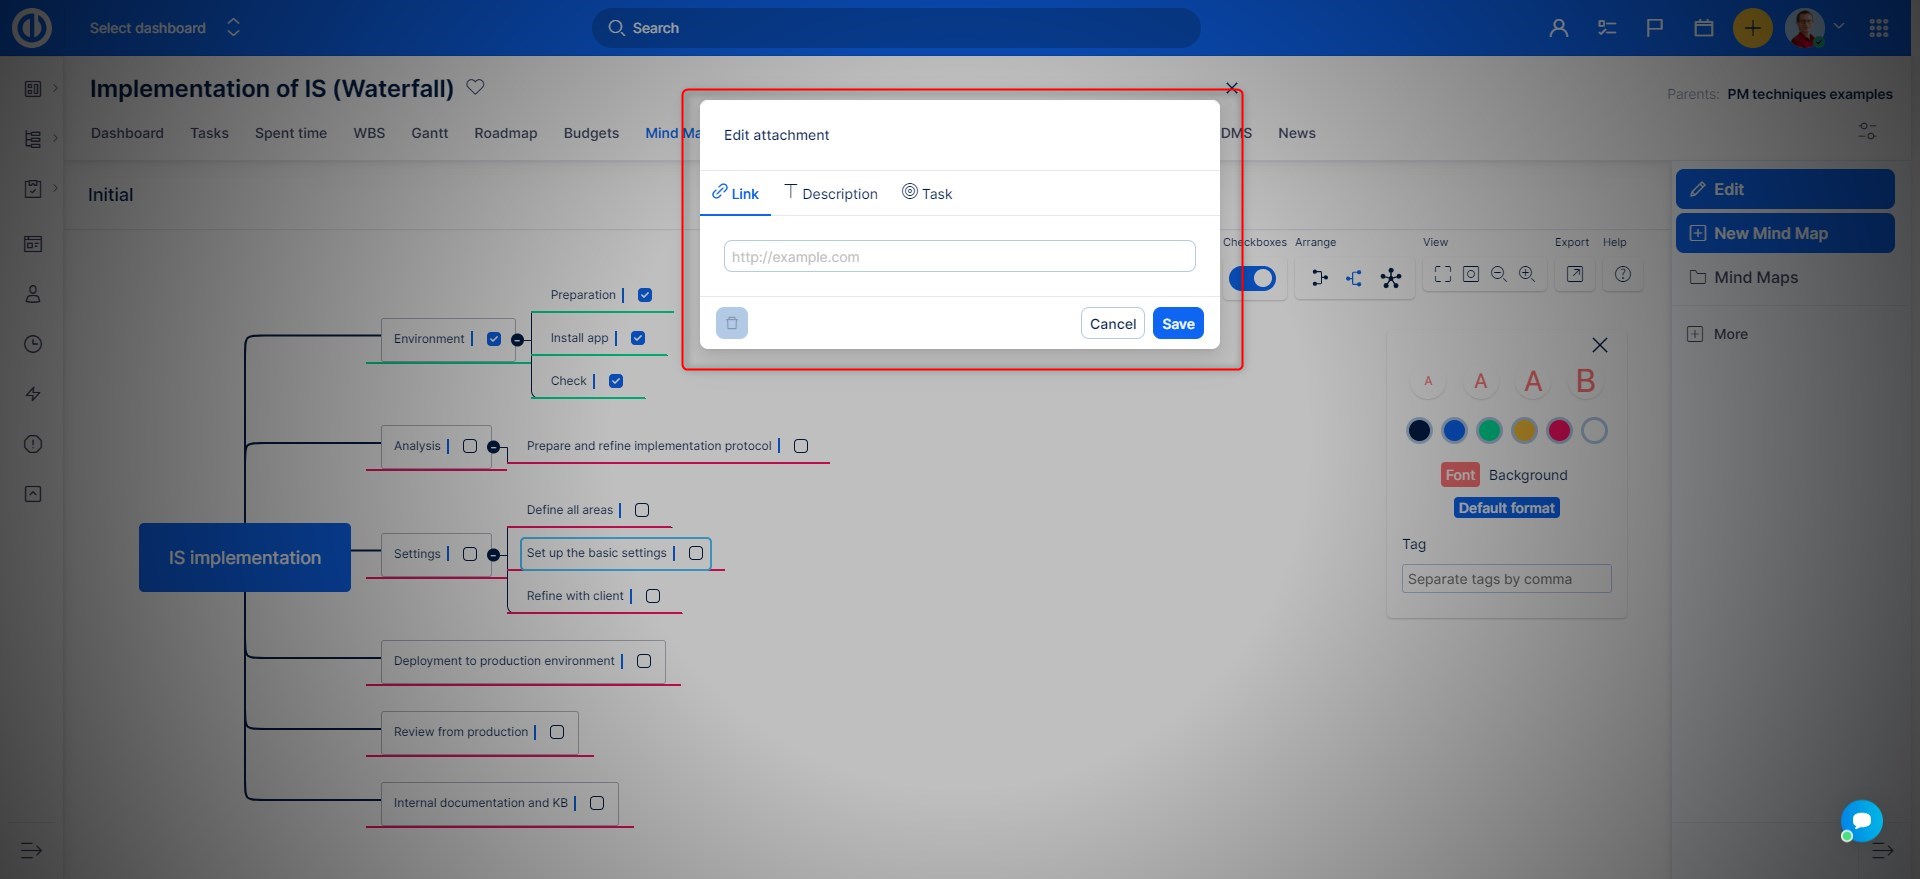
Now, let's move to the interesting stuff. Each node can be amended with 1) Link (URL), 2) text description, or 3) Task relation. Click on any node with the right mouse button and select Edit attachment (alternatively use the Ctrl+K shortcut). This will open a little dialog where you can do all that was mentioned above. The node will then receive a little icon.

Checkboxes are great for tracking the progress of some processes. Toggle Checkboxes. If you tick a node – it will become green. If you click again, it becomes red again. These checkboxes do not synchronize with Checkboxes on tasks. Note that the checkboxes are not part of Exports.
The mind map is saved in the local storage of your browser and it saves the data on the server every 3 seconds. If you want to make sure your mind map is saved, see the text in the upper left corner.
![]()
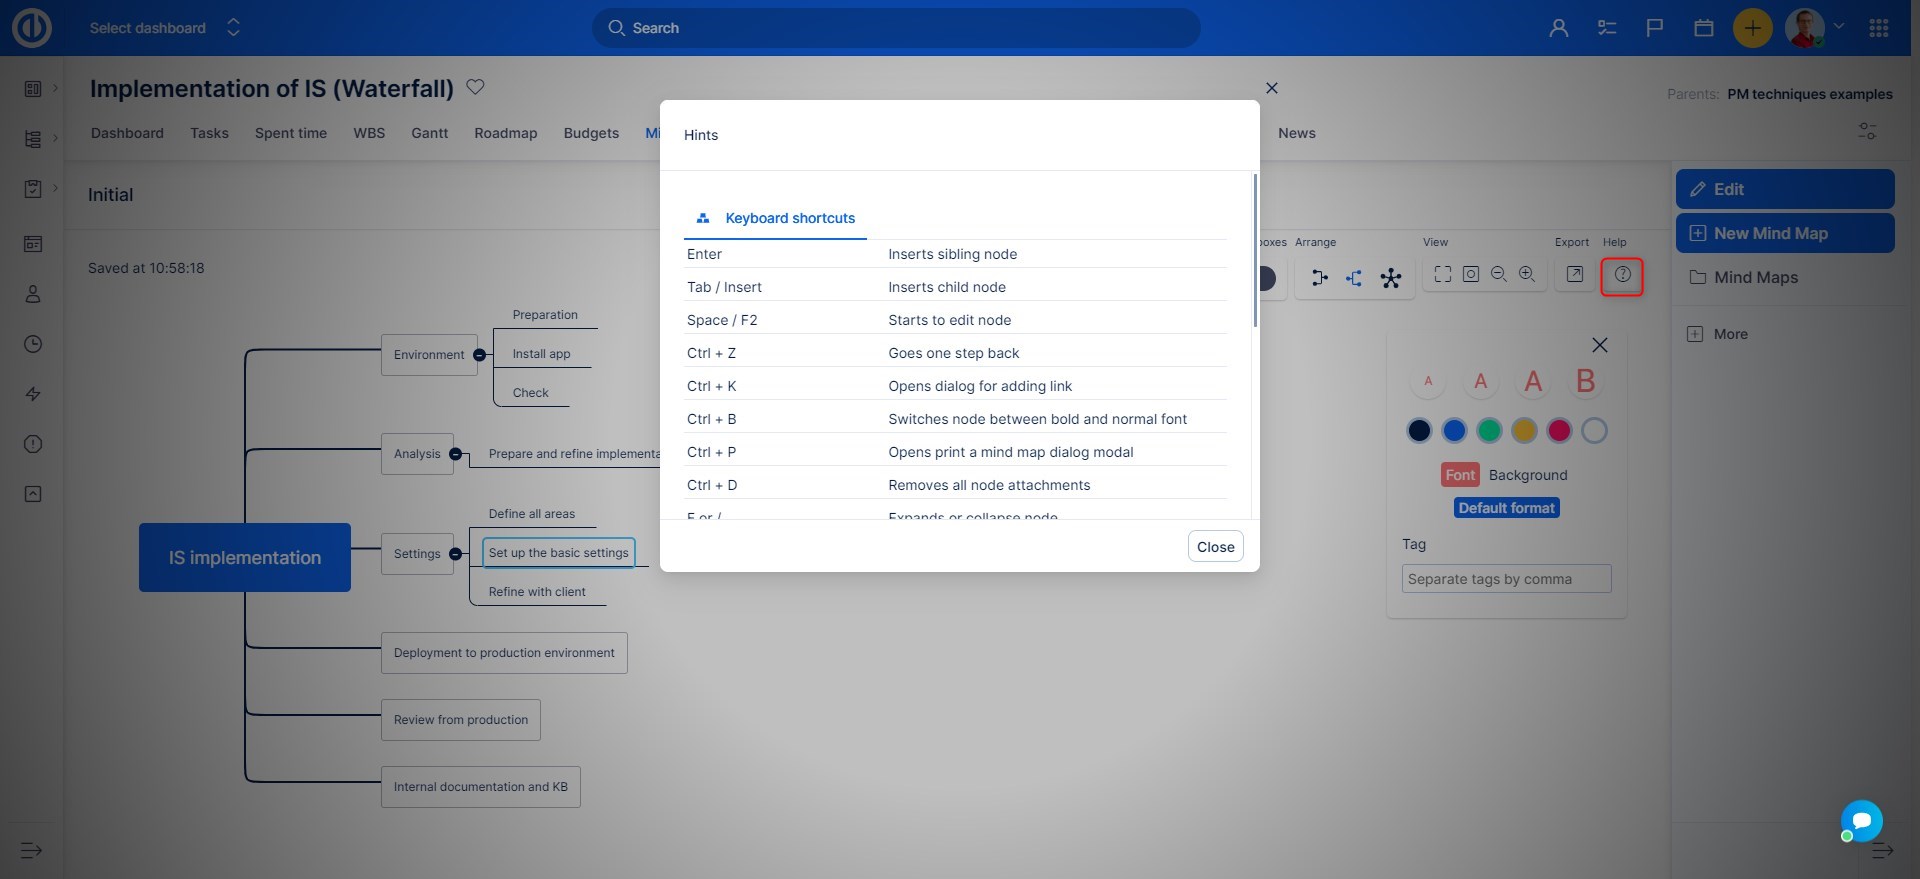
If you get lost, do not hesitate to open the Help section where you can also find all the keyboard shortcuts (see later).
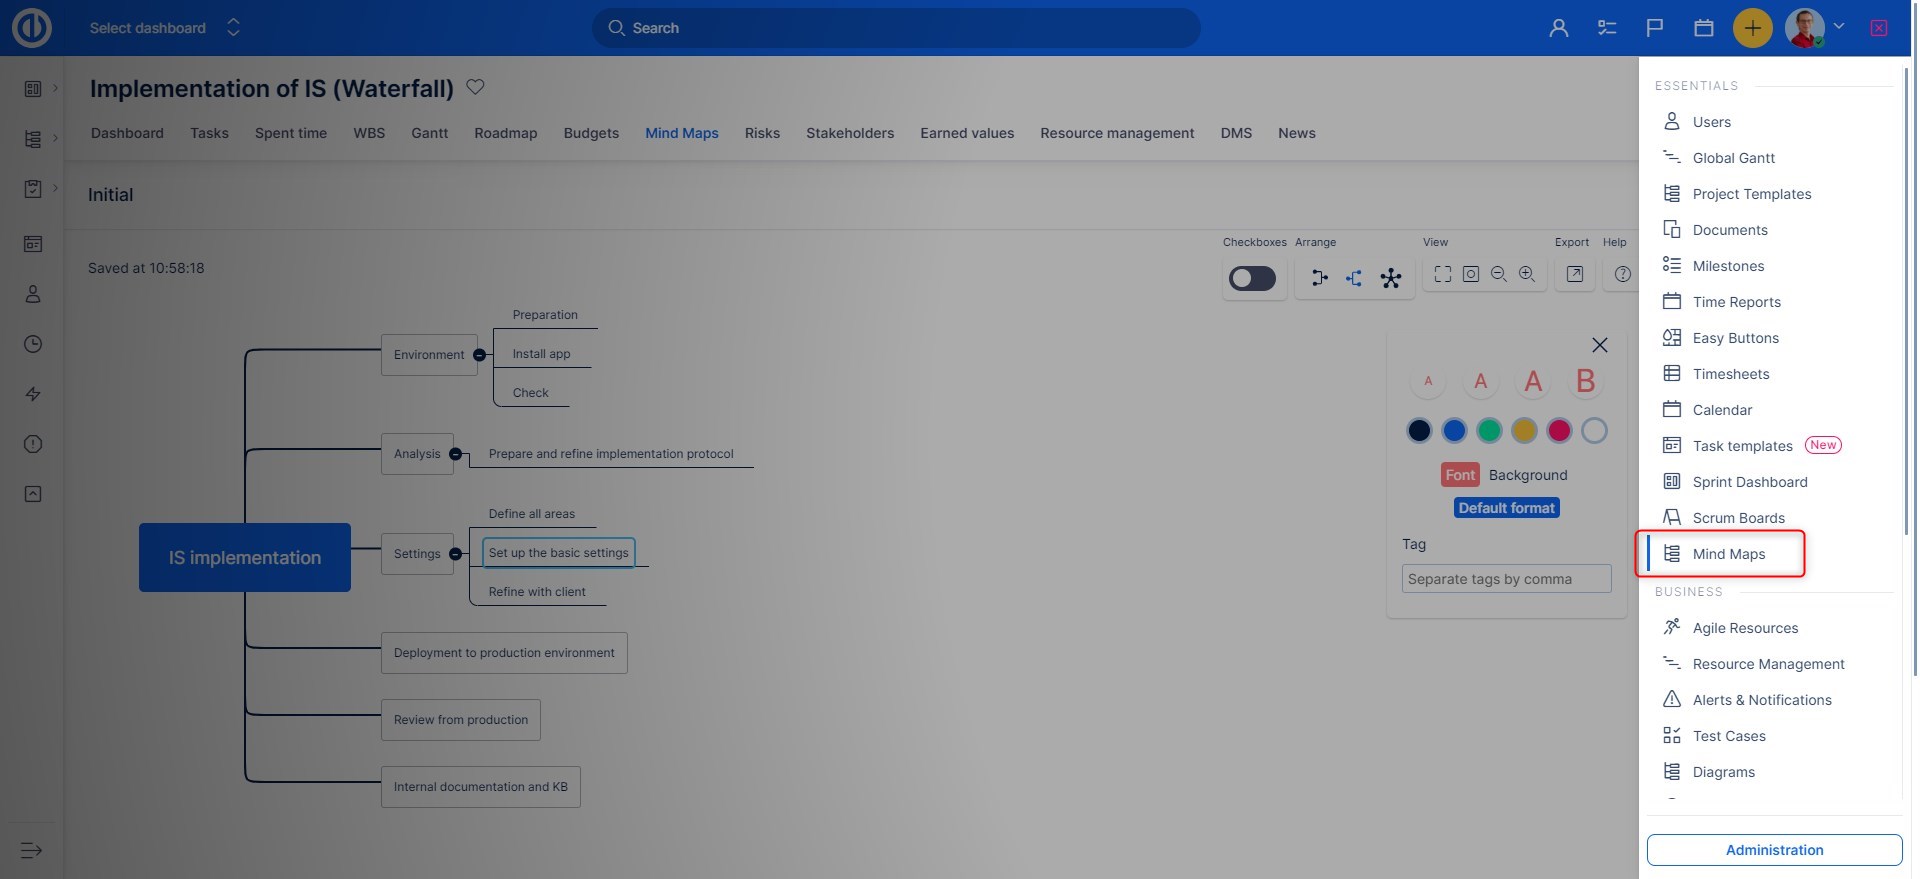
You don't remember in which project your mind map was? No problem. Go to the Global menu in the top right corner and select Mind Maps. This is a global overview of all the mind maps that are accessible to you according to project membership and your role in the projects.
Next, if you edit a mind map, the map will lock for 3 minutes so that other users cannot change the mind map you are currently working on. After 3 minutes, whoever is the first one to make the next change will become the editor of the mind map and others have to wait. When waiting, you will see a lock symbol with information on who else is currently editing the map. The map is just read-only. Unfortunately, we are not able to make mind maps work in a collaboration mode.
Mind Maps are part of project templates. You can link a task from any project you have access to (based on restrictions from project memberships and permissions to see tasks).
Keyboard shortcuts
List of the most important keyboard shortcuts:
- Enter – Inserts a sibling node
- Tab/Insert – Inserts a child node
- Space/F2 – Starts to edit node
- Ctrl+Z – Goes one step back
- Ctrl+K – Opens the dialog for adding a link
- Ctrl+B – Switches node between bold and normal font
- Ctrl+P – Opens "Print a mind map" dialog modal
- F or / – Expands or collapse node
- Delete/Backspace – Deletes a node
- Ctrl+↑/Page Up - Moves node up
- Ctrl+↓/Page Down- Moves node down
- Ctrl+← - Moves node left (as a parent/child depends on the view)
- Ctrl+→ - Moves node right (as a parent/child depends on the view)
- ↑ - Selects previous sibling node
- ↓ - Selects next sibling node
- ← - Selects previous child node
- → - Selects next child node
- T - Clears current node formatting
Exports
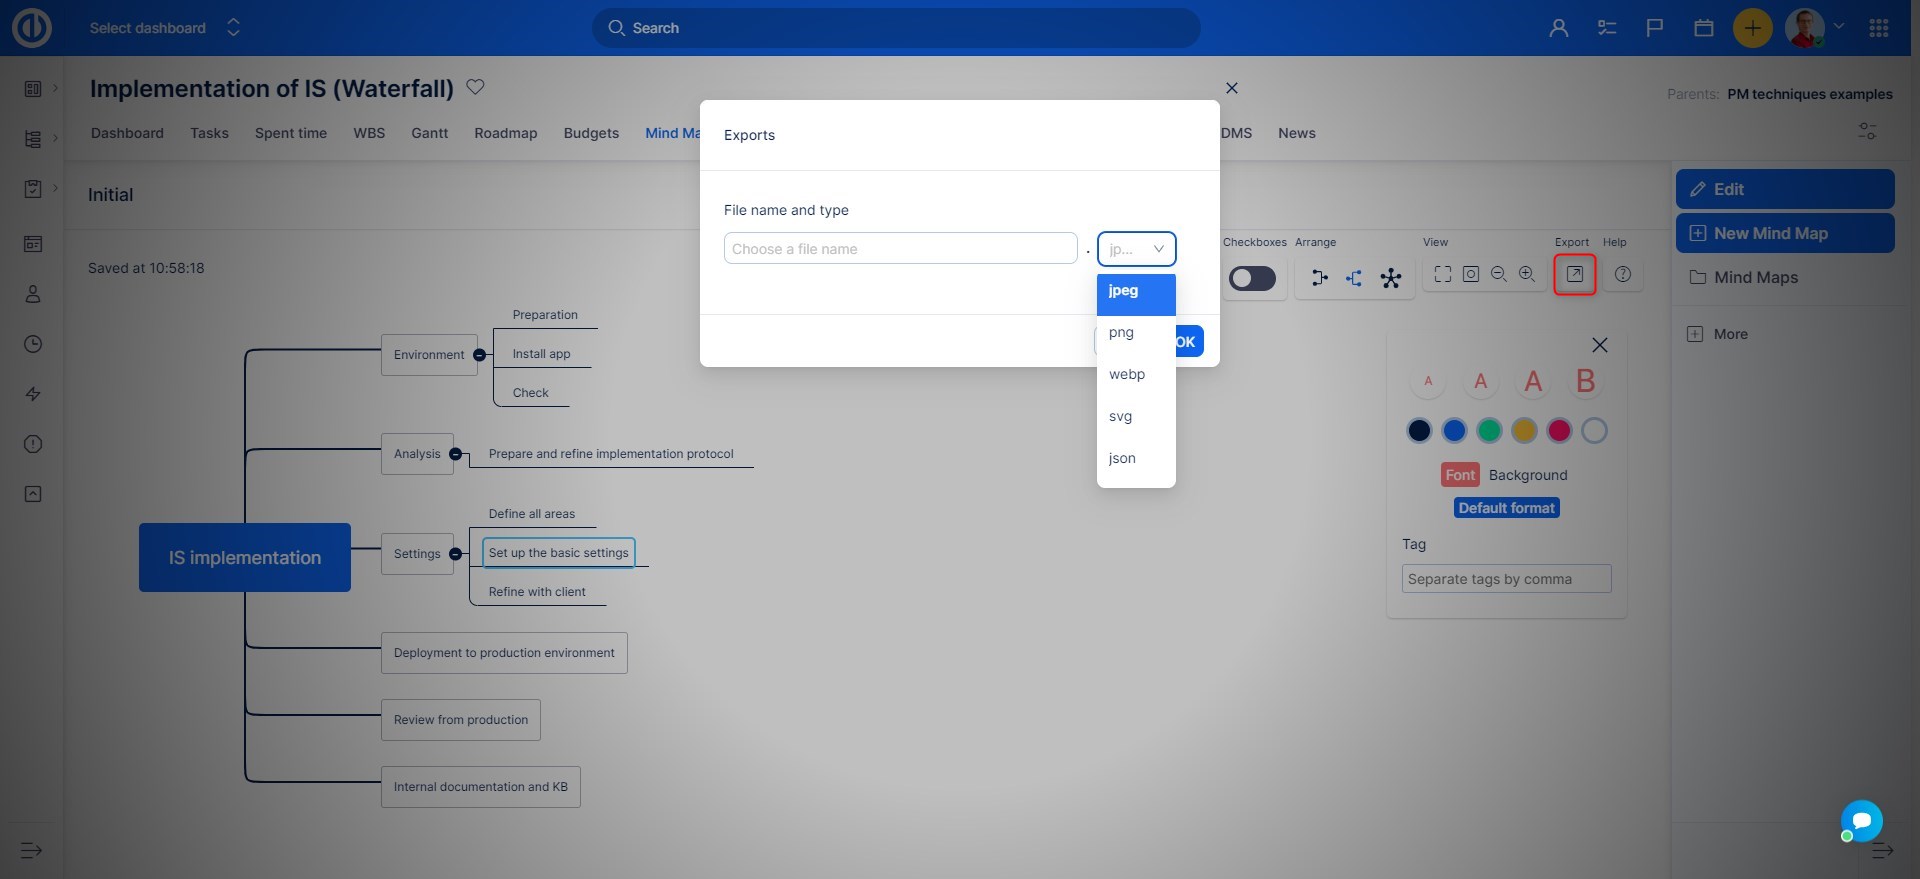
If you need to print, hit the Export button and select one of the supported formats. You can use the keyboard shortcut Ctrl+P to export. Make sure your cursor is on the Mind Map and one of the nodes is active, otherwise you will trigger the browser print feature. Exports are supported in the following formats.
Corner situations
- Drag-and-drop to change parent is OK, but drag-and-drop just to change the order of nodes is not supported.
- A node can be only related to 1 task (1:1 nodes-tasks). If you need to link more tasks, you need to create more nodes.
- Mobile view for Mind Maps is not supported.